Good software development practices reduce the possibility of errors. But these pesky creatures still find their way into production. When a user runs into an error the webpage could crash and s/he would have to manually reload it. This leads to a bad user experience. A reload button in case of an error could help the user and nudge them into recovery. More specifically a “Hard reload button” i.e. a button that fetches the webpage from the server instead of the cache.
The error boundary of your web application is a good place to keep the reload button. In most React applications this is a component. It contains a fallback UI, with some text to nudge the user to reload.
Note: This tutorial assumes that you know React and have a good working knowledge of JavaScript.
In this tutorial, you will learn to:
- Build a basic Error Boundary component
- Create a button that will hard reload a webpage
Starter Project
We’re going to use the Wednesday react template as a starter project. This is a project we use as a base across all the react projects at Wednesday.
Open the terminal and clone the repository.
Navigate to the project on the terminal and run.
Once done run
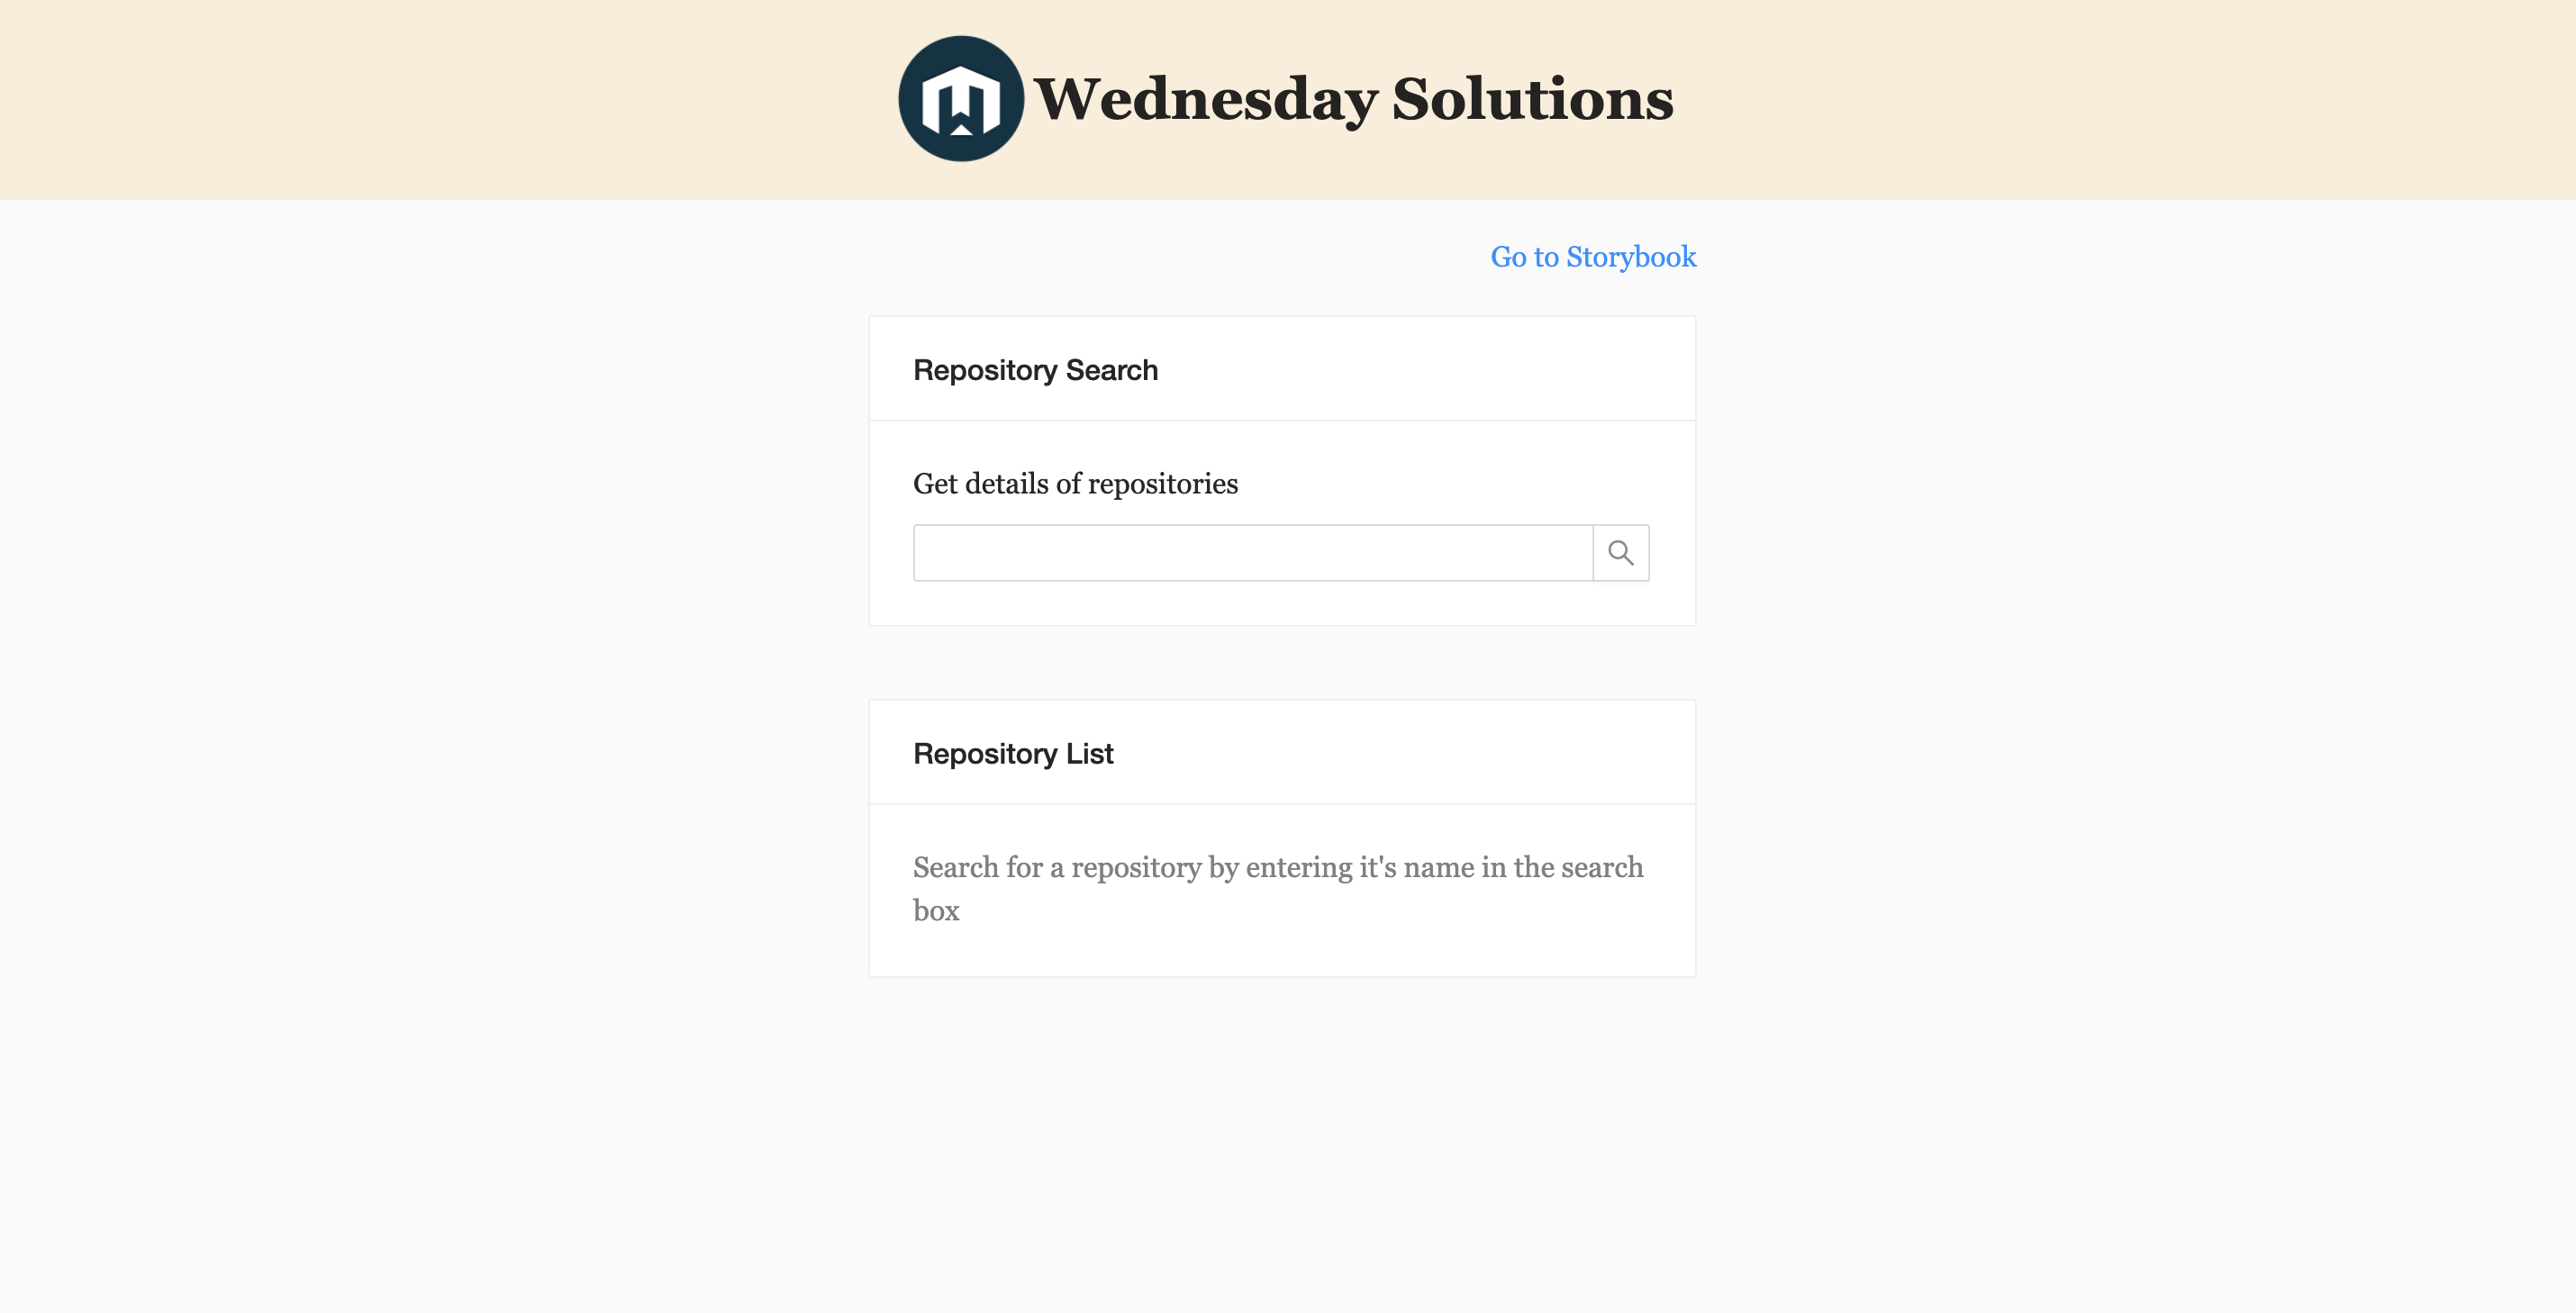
This will start the react template. You should see the following on your browser.

Great going so far. You’re now ready to start making changes.
The Error Boundary
The Starter Project comes with a basic error boundary but we will begin by creating an all-new Error Boundary with a refresh button & a start fresh button.
Open the project in your text editor of choice.
Step 1
Navigate to the app/components/ErrorBoundary folder and replace the contents of the index.js file with the following.
It’s a lot to digest. I’ve left a few comments in the code to make it easy to understand. In a nutshell, this component shows a button and some text when the error state is set.
Step 2
To test your new component you're going to deliberately trigger an error in the App Container. Open the app/containers/App/index.js file and replace the current App component with the one below.
Your browser should now show the following.
.png)
Next Steps: The Hard Reload Button
You now have all the building blocks in place. You have a component that will show up when an error occurs. You just need to write the logic to hard reload the page when the user hits the refresh button.
Step 1: Uninstall service workers
Paste in the below code in the handleRefreshClick function in app/components/ErrorBoundary/index.js
The above piece of code gets all the service workers currently installed for your web app and uninstalls them.
Step 2: Clear the cache
Then add the following code to the end of the handleRefreshClick() function.
The above piece of code removes all browser cache entries.
Step 3: Reload the window
Finally, copy the following snippet and paste it at the end of the same function and add the async keyword before the function name.
This triggers the browser to reload the page. If you reload the webpage in your browser, it should now work as expected. Clicking the 'Hit Refresh' button will hard reload the page.
Yay! You’ve now created a button that can hard reload a webpage.
Craving more after this read? LeadReads is where top C Execs turn for more exclusive insights and stories about digital products. Don’t be left out!
Join here.
Where to go from here
You’re now able to hard reload webpages using JavaScript and implement it on your website.
The Error Boundary we created here is very basic to keep the focus on the JavaScript bit. When you do implement it in your website, remember to get as creative as possible i.e. design a much more helpful webpage, add animations, transitions. Have fun with it.
I hope you enjoyed this tutorial as much as I enjoyed writing it. If you think this is helpful please share and leave comments. Alternatively, you can tweet your comments at us here.


