This is the 2nd part of React: Create an environment for User Acceptance Testing on the creation of a Pull Request. If you haven’t read that I would highly recommend going through that in detail. Here is a short summary of what we’ve done so far:
We managed to develop a User Acceptance Test environment on the creation of a pull request (PR). We then deployed the react app on each PR for visual testing. If the developer worked on a feature and created a PR from a branch called feat/example, UAT workflow will build the react app and upload the build files onto the s3 bucket in the feat/example directory and statically host them. Now we can go to the URL http://<your-static-s3-domain>/feat/example and we can see the app built by the user.
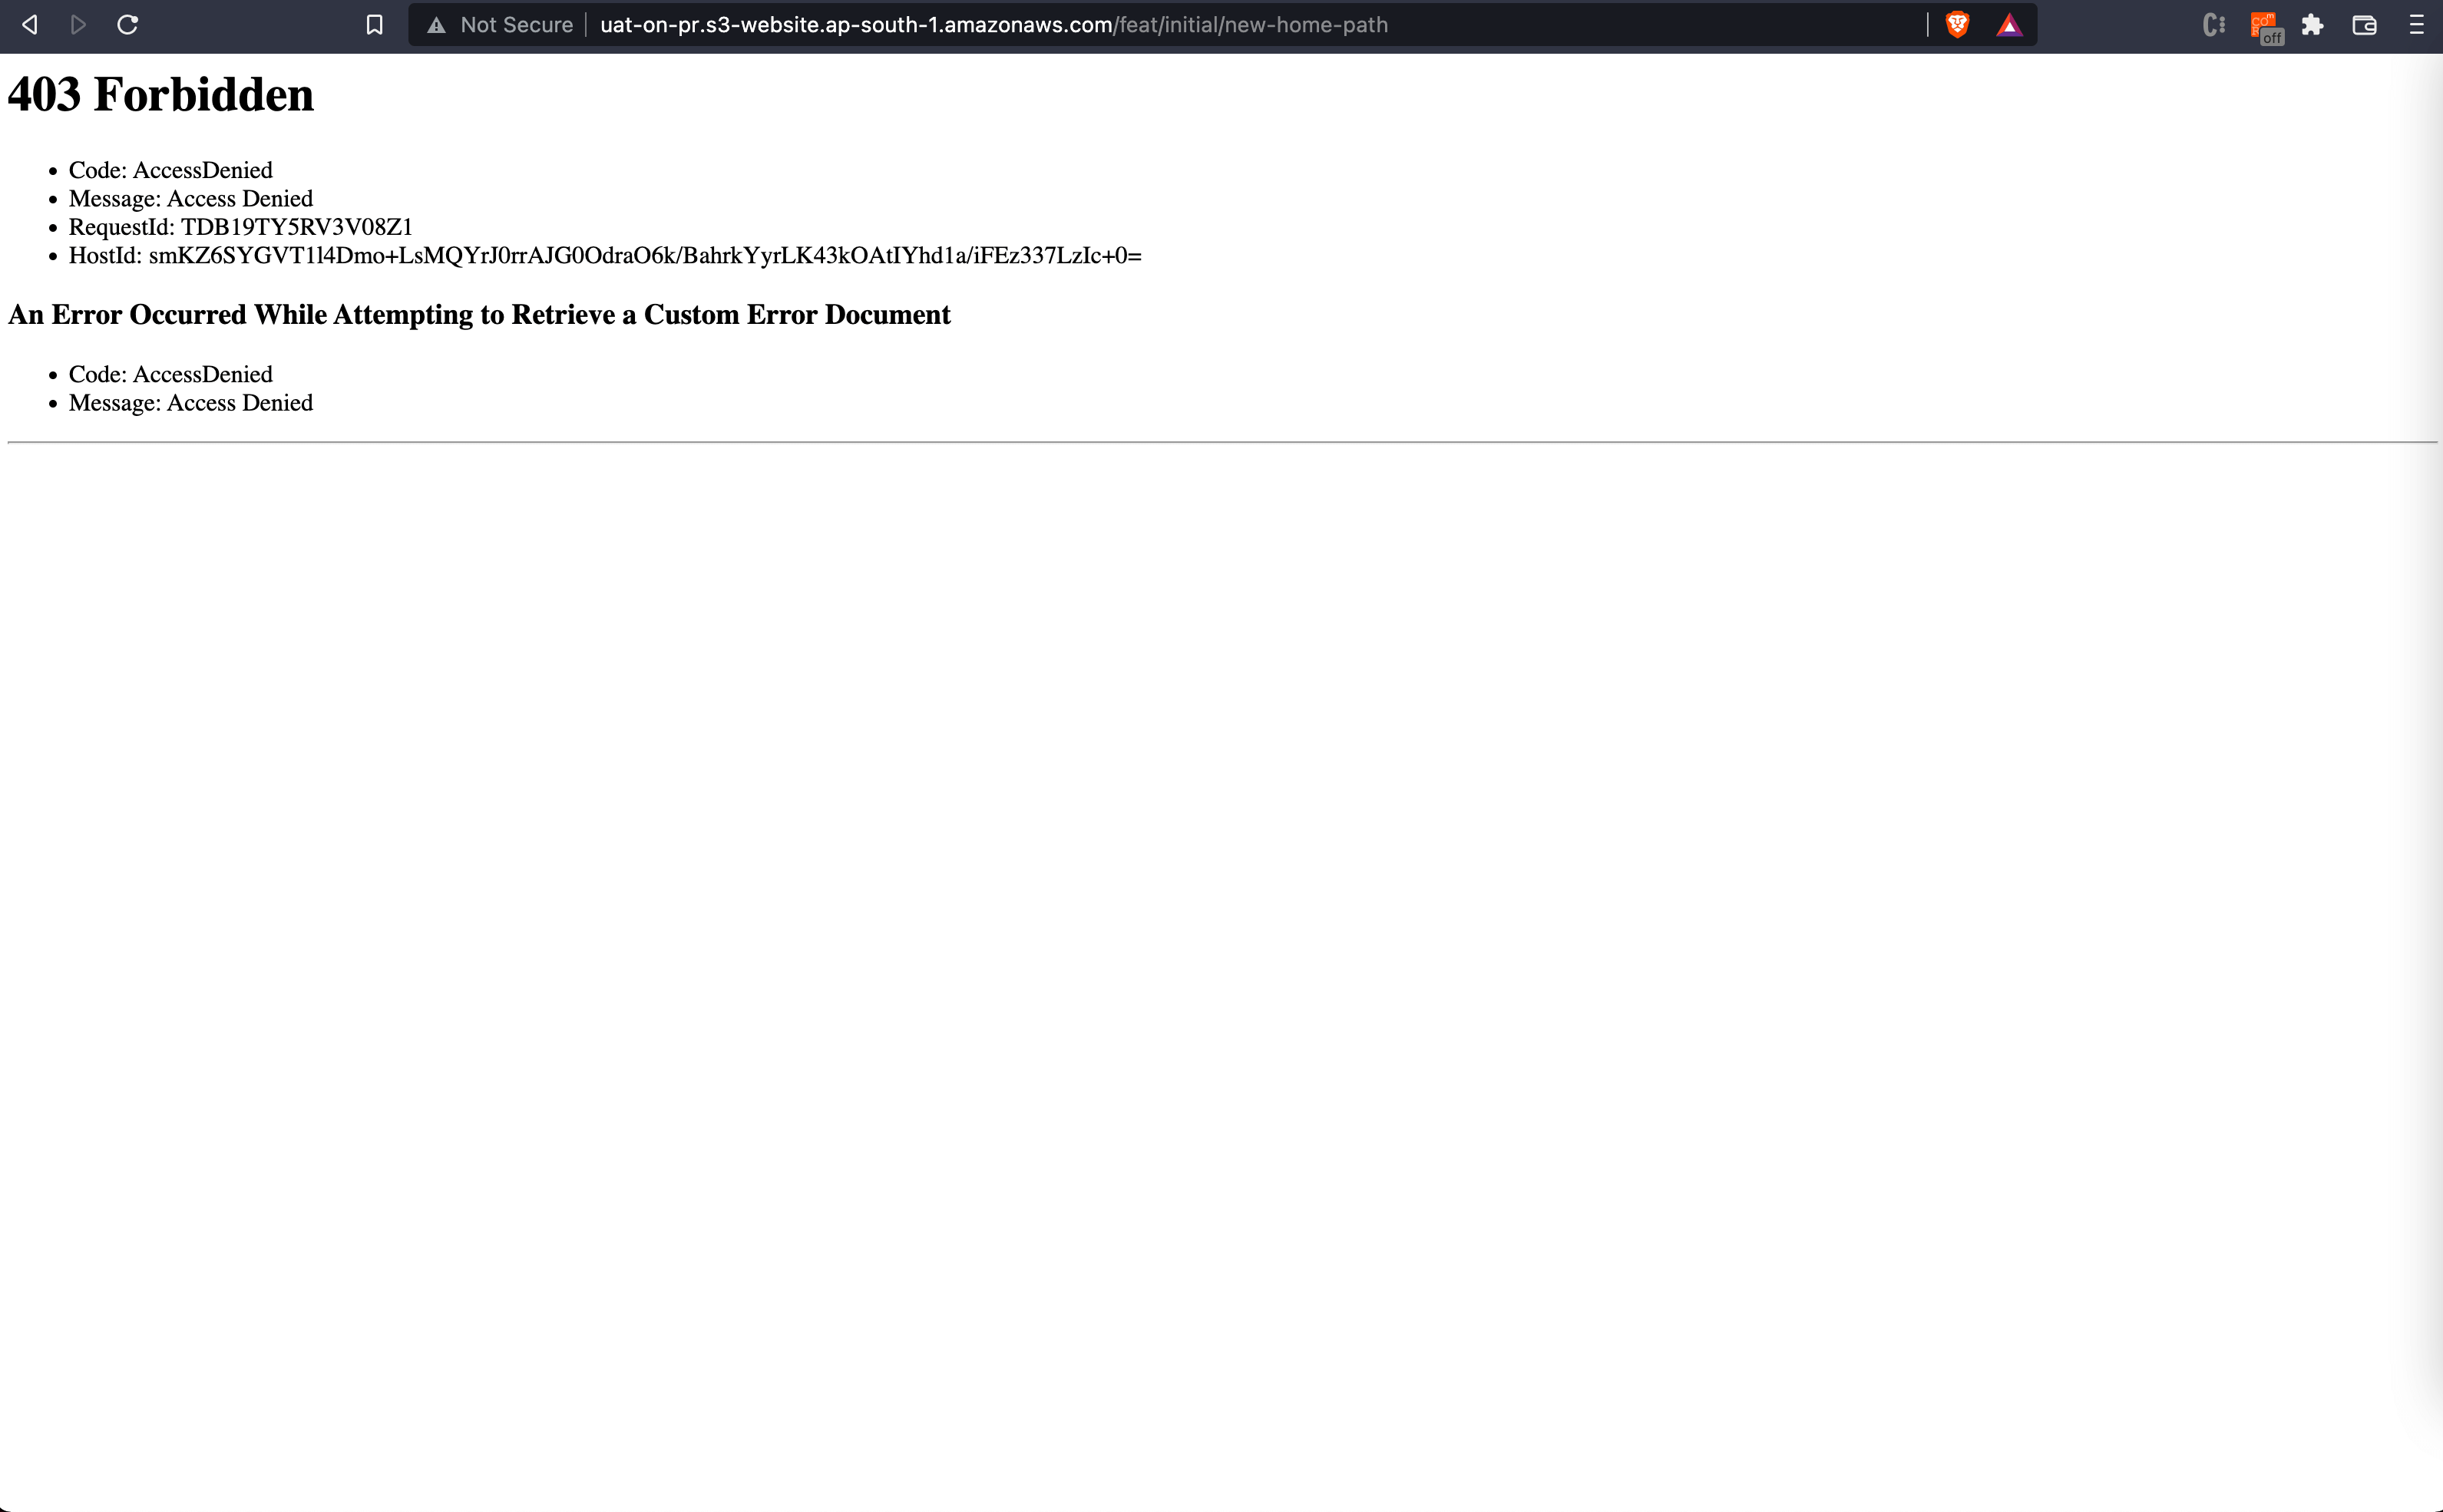
This approach had one flaw if our application has a route with path /new-home-path, and we try to access URL http:<your-static-s3-domain>/feat/example/new-home-path from the browser, it will respond with a 403 response because s3 couldn’t find the index.html file from /feat/example/new-home-path directory.
In this tutorial, we will discuss how to tackle this problem while still keeping maintenance and cost overheads low by using a single bucket
I will take you through the following steps in this tutorial
- Create a fallback index.html
- Add logic for redirection in the fallback HTML script
- Update the UAT workflow to support the upload of the fallback HTML
- Update the react app to deal with client-side routing
Starter Project
To get started clone this repo
Use the cloned repo as the working directory, and install the dependencies.
You can now run the app using
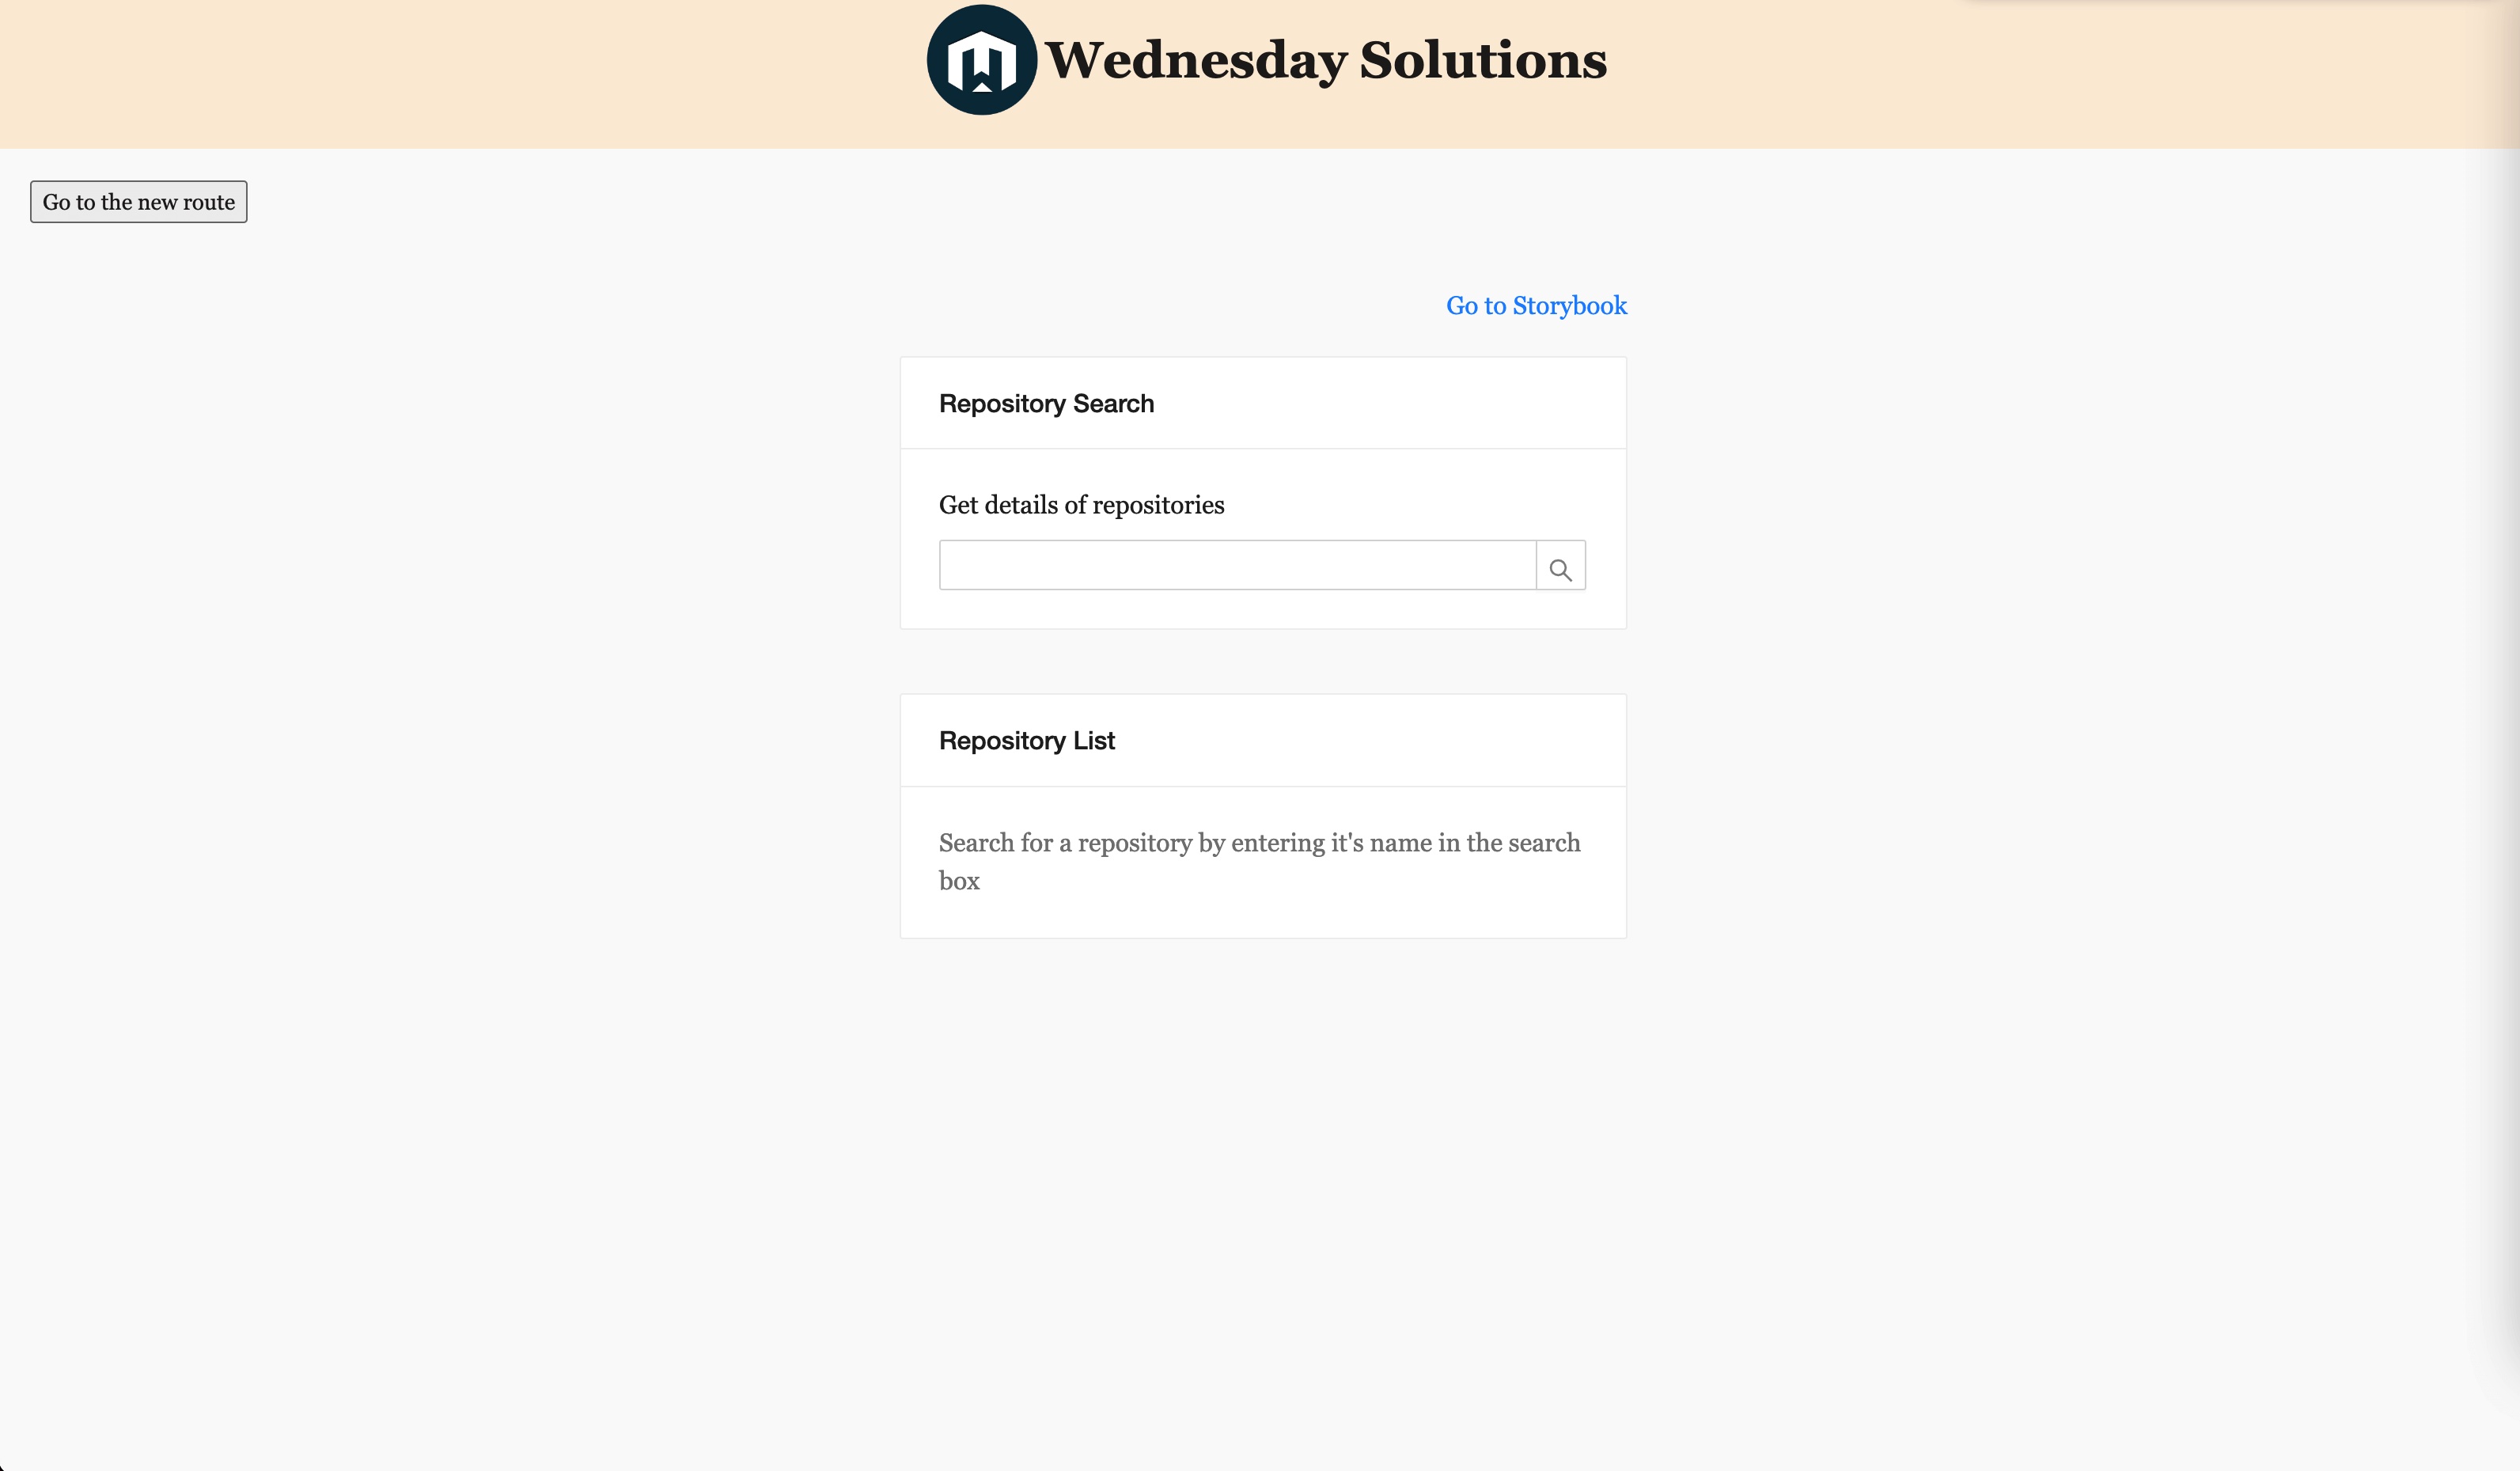
Go to http://localhost:3000, you will be greeted by the following page.

This repo contains the code till the end of part 1 and thus has the 404 issue when you directly try to access http:<your-static-s3-domain>/feat/example/new-home-path in the browser on UAT.
In order to see it in action, fork the repo, make a change, and create a PR to the master branch of the original repo. This will trigger the action and your application will be made available on the following URL:
Note: You will have to add the following secrets to your repo
- AWS_S3_BUCKET
- AWS_ACCESS_KEY_ID
- AWS_SECRET_ACCESS_KEY
- AWS_REGION
https://<bucket-name>.<region>.amazonaws.com/<your-branch-name>/new-home-path](http://amazonaws.com/<your-branch-name>/new-home-path
When you go to the URL will see a 403 as shown below as opposed to being able to see the new-home-path.

In the next portion of the tutorial, we will create a fallback index.html. This will be able to handle scenarios when the user goes to nested application routes in the UAT environment.
Create fallback index.html
Specify index.html as an error document in the s3. Each time the s3 static server encounters an error response while fetching the page, it will render the index.html as a fallback page. You will include the redirection logic for the app here.

Next, create the fallback index.html file in the uat directory.
Add the following code to the index.html file
Add a Script for Redirection Logic
Next, create an index.js file in the uat directory.
Add the following snippets to the created file. One can also include the following code snippet directly into fallback HTML inside a script tag. But here we separate the script from HTML for testing purposes.
Here is an explanation of what we’ve done:
- If the pathname is one of the WHITELISTED_PATHNAMES there is no need for redirection. For example: when the pathname is /index.html we are already loading the index.html correctly.
- We remove the /index.html from the pathname to make sure it doesn’t interfere with the path matching logic that we have further.
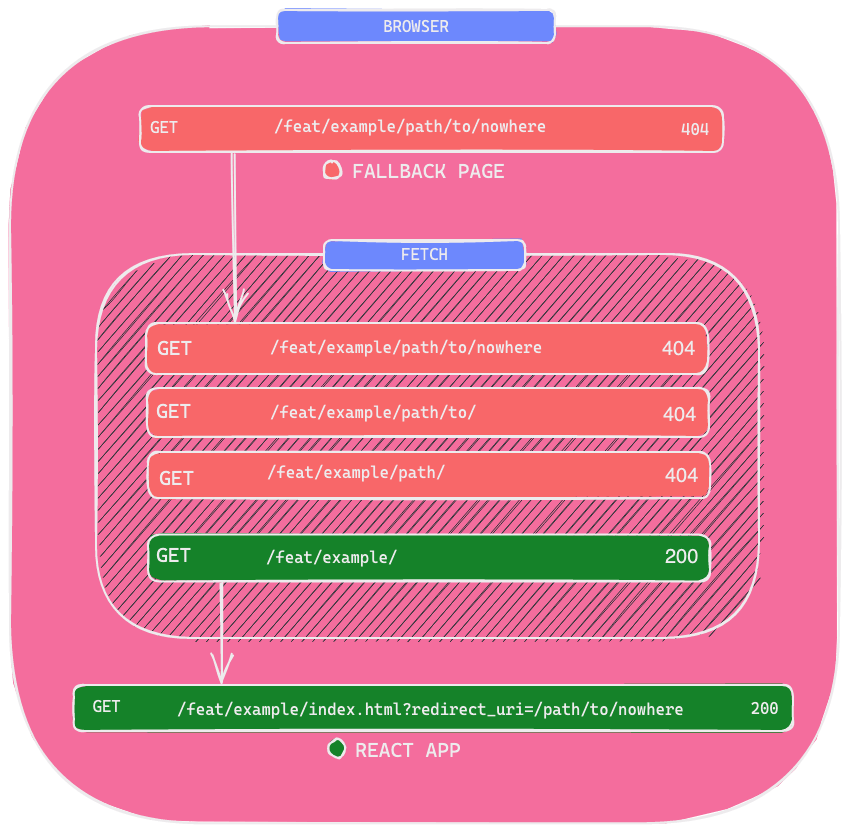
- We now split the URL and get all the sub-directories in an array. We start by concatenating all subdirectories. We check if this URL returns a valid HTML. We make a GET request to <baseURL>/<concetanated-subdirectories> . If it responds with a 404 we know that this is not the correct pathname. We then cut out the last subdirectory from concatenated string and make an API call. This process is repeated until we get a successful response, or we are out of subdirectories
- If there are no matching paths, we will redirect to the fallback page.
Now let’s go through what we are trying to do in the redirect script. Let's say our react app is in the /feat/example directory of the s3 bucket and the requested URL has pathname /feat/example/path/to/nowhere, the redirect script will make fetch calls as seen in the diagram up until it finds the index.html of the react app (feat/example/index.html).

Enjoying this tutorial? Don't miss out on more exclusive insights and real-life digital product stories at LeadReads. Read by Top C Execs.
Join here.
Now let's continue.
Update React App
In the last step in the fallback index.html we append the initial pathname as the redirect_uri query string parameter. We need to empower our react application to be able to interpret the redirect_uri and redirect the user based on its value.

The following code snippet does just that:
- Register a useEffect that will be executed only when the application is mounted.
- Check if the redirect_uri query string parameter is present in the URL, and redirect the user to the redirect_uri if present.
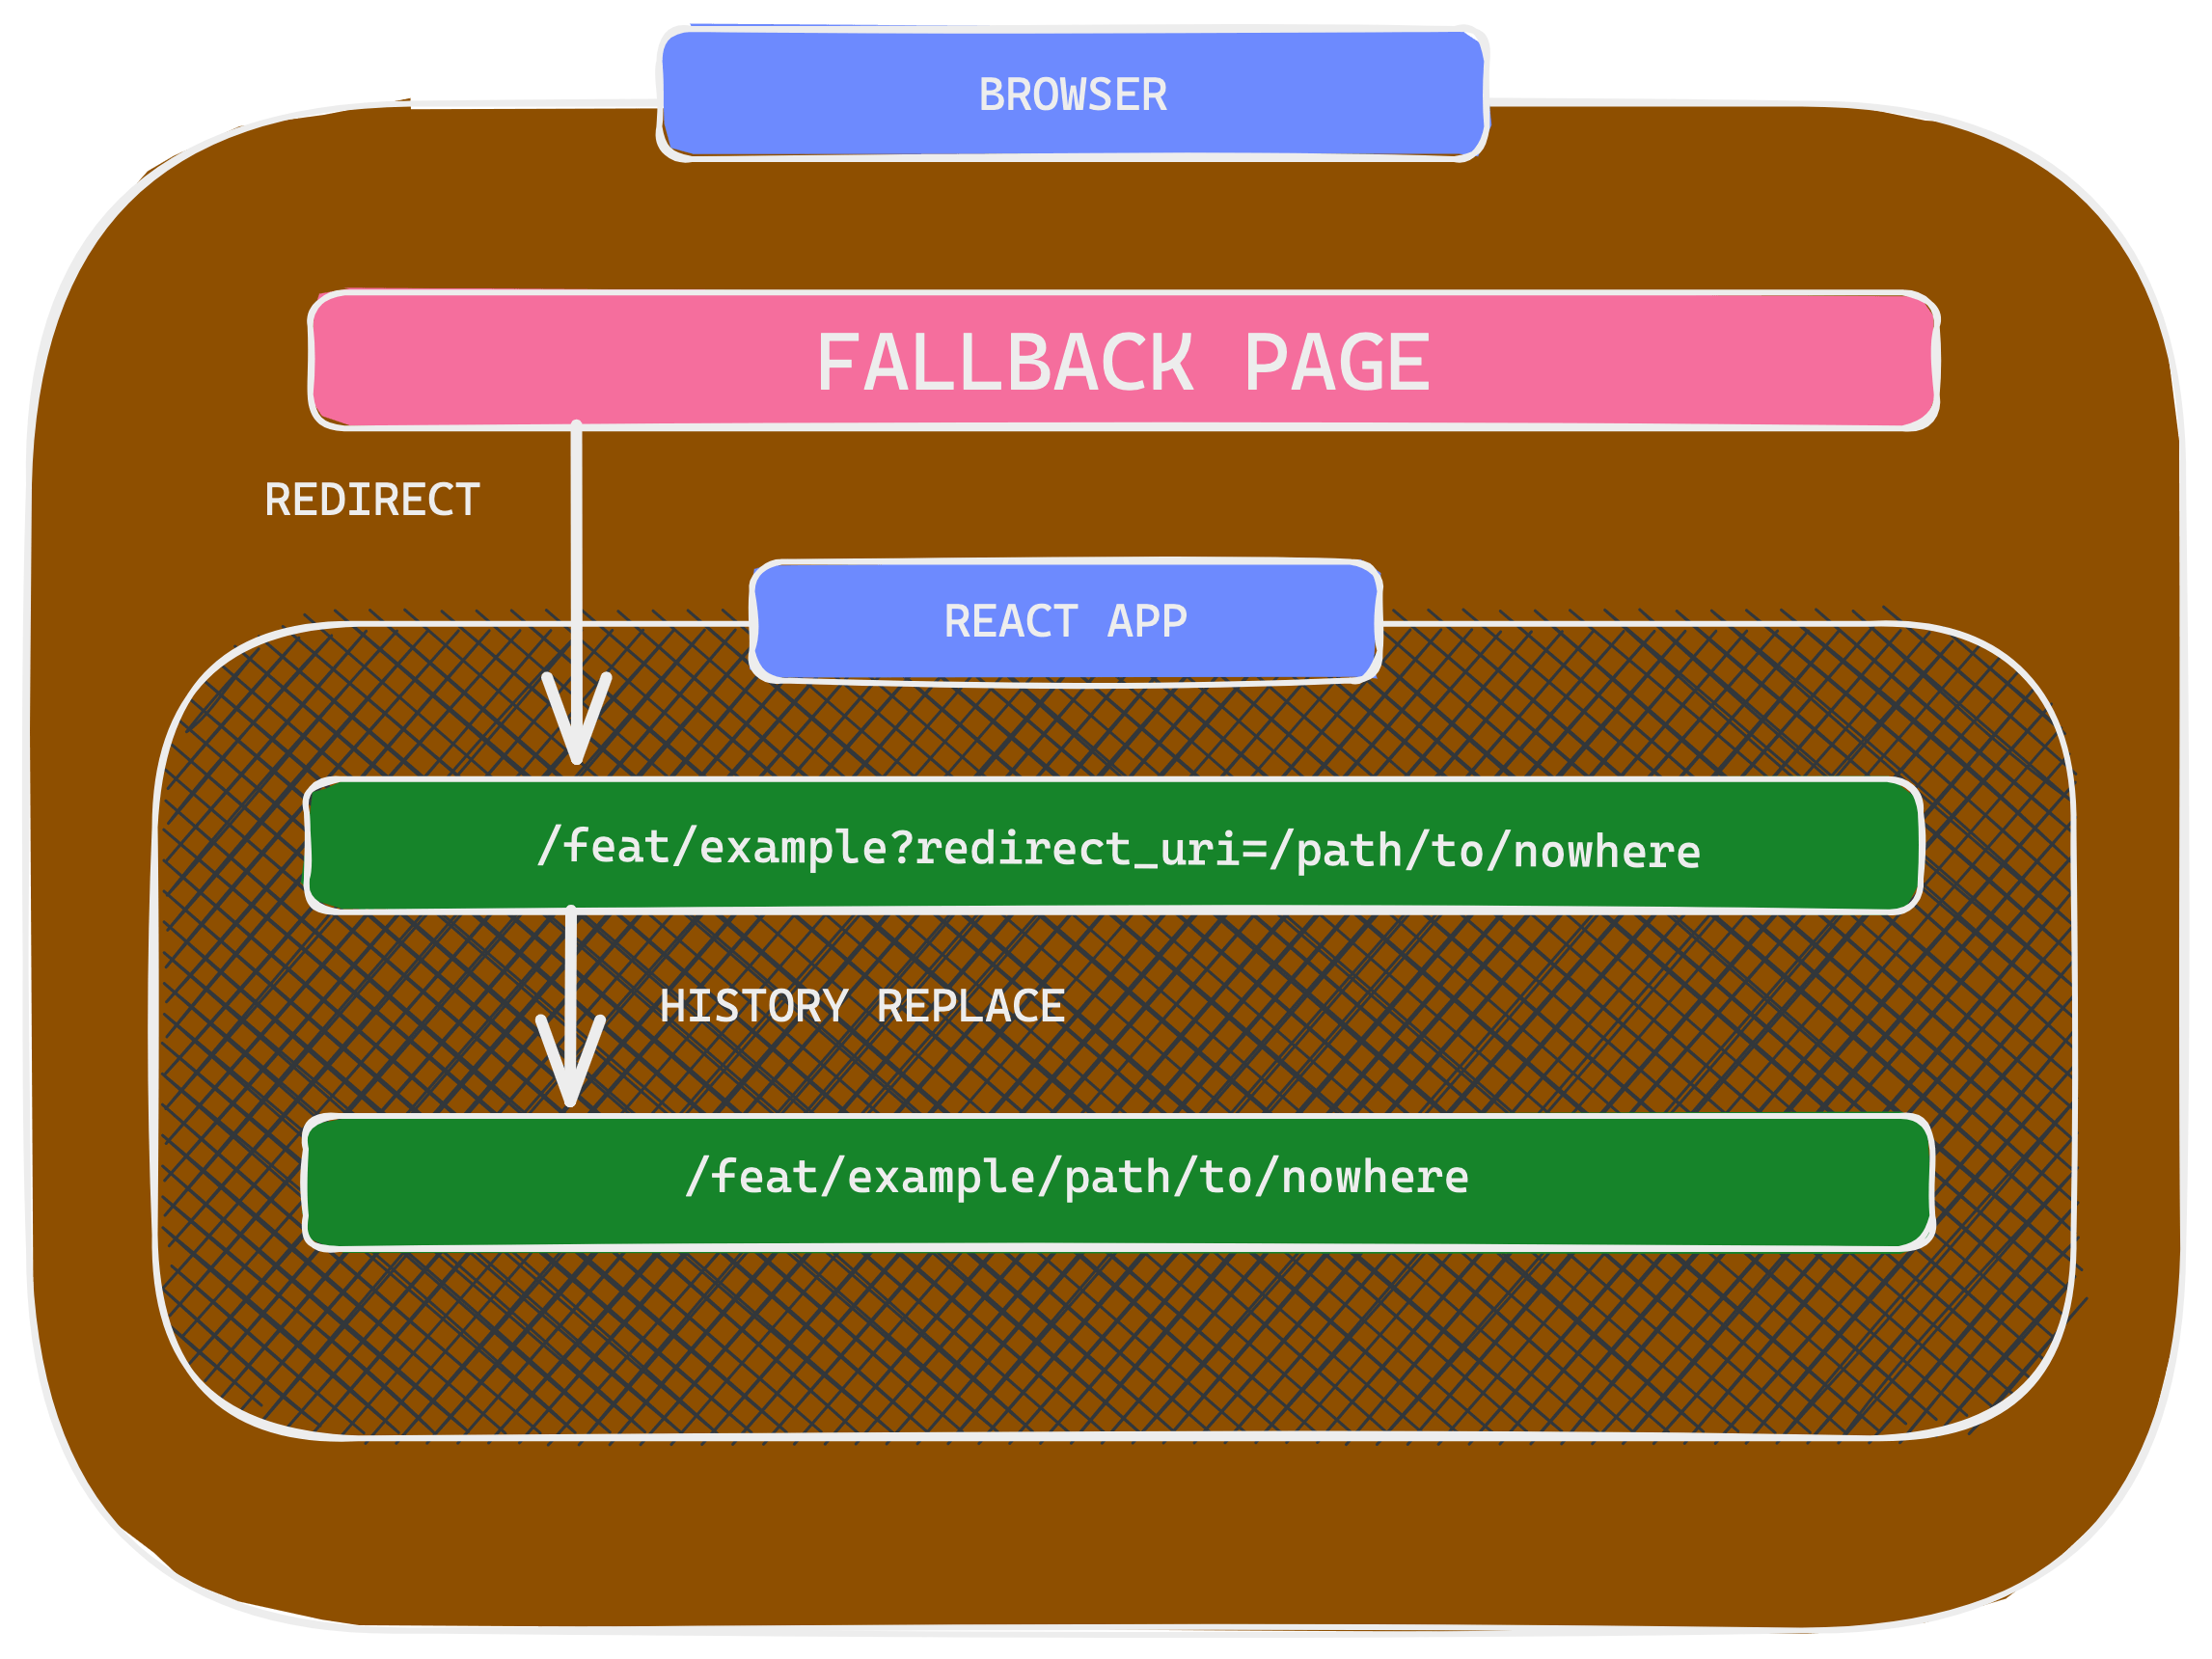
Now if the browser gets redirected to /feat/example/index.html?redirect_uri=/new-home-path, the react-router history API will replace current route / with /new-home-path.
Once the react application is rendered, we inspect the redirect_uri query string parameter. Recalling the original URL had?redirect_uri=/path/to/nowhere The App component replaces the current route with the value of the redirect_uri thus rendering the correct route.
Update UAT - GitHub Actions Workflow
Update uat.yml to include the upload of the fallback error document (index.html) as well as the script which contains the redirection logic (index.js) from the uat directory. Since we have both a fallback page and redirect script in the uat directory, we can use the GitHub action called s3-sync-action for syncing the uat directory with the root directory of our s3 bucket.
Add the following lines at the end of .github/workflows/uat.yml file.
- SOURCE_DIR is set to ./uat/ because our UAT script and fallback HTML are inside the directory uat.
- We sync our fallback HTML with the root of the s3 bucket so that the s3 static website loads the uploaded fallback HTML.
Now if we make a PR from a branch named feat/example, GitHub actions will run including the steps above. And after successful completion of the workflow, if we access the URL http://<your-static-s3-domain>/ from the browser, ****we will be able to see the fallback page. And we will able to access the /new-home-path route from URL http://<your-static-s3-domain>/feat/example/new-home-path (eg: http://uat-on-pr.s3-website.ap-south-1.amazonaws.com/)

You can try out the UAT environment which includes the react client-side routing for a PR from feat/example branch: http://uat-on-pr.s3-website.ap-south-1.amazonaws.com/feat/example/new-home-path

Final Project
You can see the final project which includes the changes we discussed in this tutorial here.
Where to go from here
I hope you enjoyed reading and following through with this tutorial as much as I did when writing it. The amazing folks at Wednesday Solutions have written a graphql-typescript variant of the react-template. I’d love to get your thoughts on the template, and perhaps stories of how it eased/improved your development workflow.
Alternatively would love to hear your thoughts on where it can be improved. Thanks and happy coding!


